I don't know what to call this, but I stole the idea from someone on Pinterest. A crafty someone you can find here.
I usually only put a wreath on my door in late fall and at Christmas time. Cuz I'm lazy like that. And I don't have a knack for decorating.
But when I saw this little cutie pie on Pinterest I pinned it and forgot about it and decided to do it many months later.
To do this you need:
8x10 picture frame
Wooden letter
Yarn (1-2 colors)
Craft paint
Paintbrushes
MAYBE a staple gun
and last but not least - Patience... plenty of patience
My sister-in-law and I decided to make one the same day and you should've seen us in Jo Ann. . . We pined over yarn like the most indecisive duo in history lol
The fun awful part is wrapping the frame with yarn. It feels like you're never gonna finish.
And I goofed on mine - I meant to do the striped yarn on the longer side but I was halfway through before I realized it. Cuz I'm a dork.
Anyway, there's really no need to explain this - it's so simple. You people are smart & crafty, right?
I didn't have any fabric to make the cutesy little rosettes or flowers or whatever they're called so I just used some fat fuzzy yarn and did my own thing. Hot glue perfection yall.
Here's the rundown of my cost for this here project -
10.99 Frame (on sale)
2.99 Wooden letter
2.99 Yarn one
2.99 Yarn two
6.99 Fat fuzzy yarn
4.99 Black paint
0.69 White paint
If you're crafty you'll probably already have some yarn and paint.
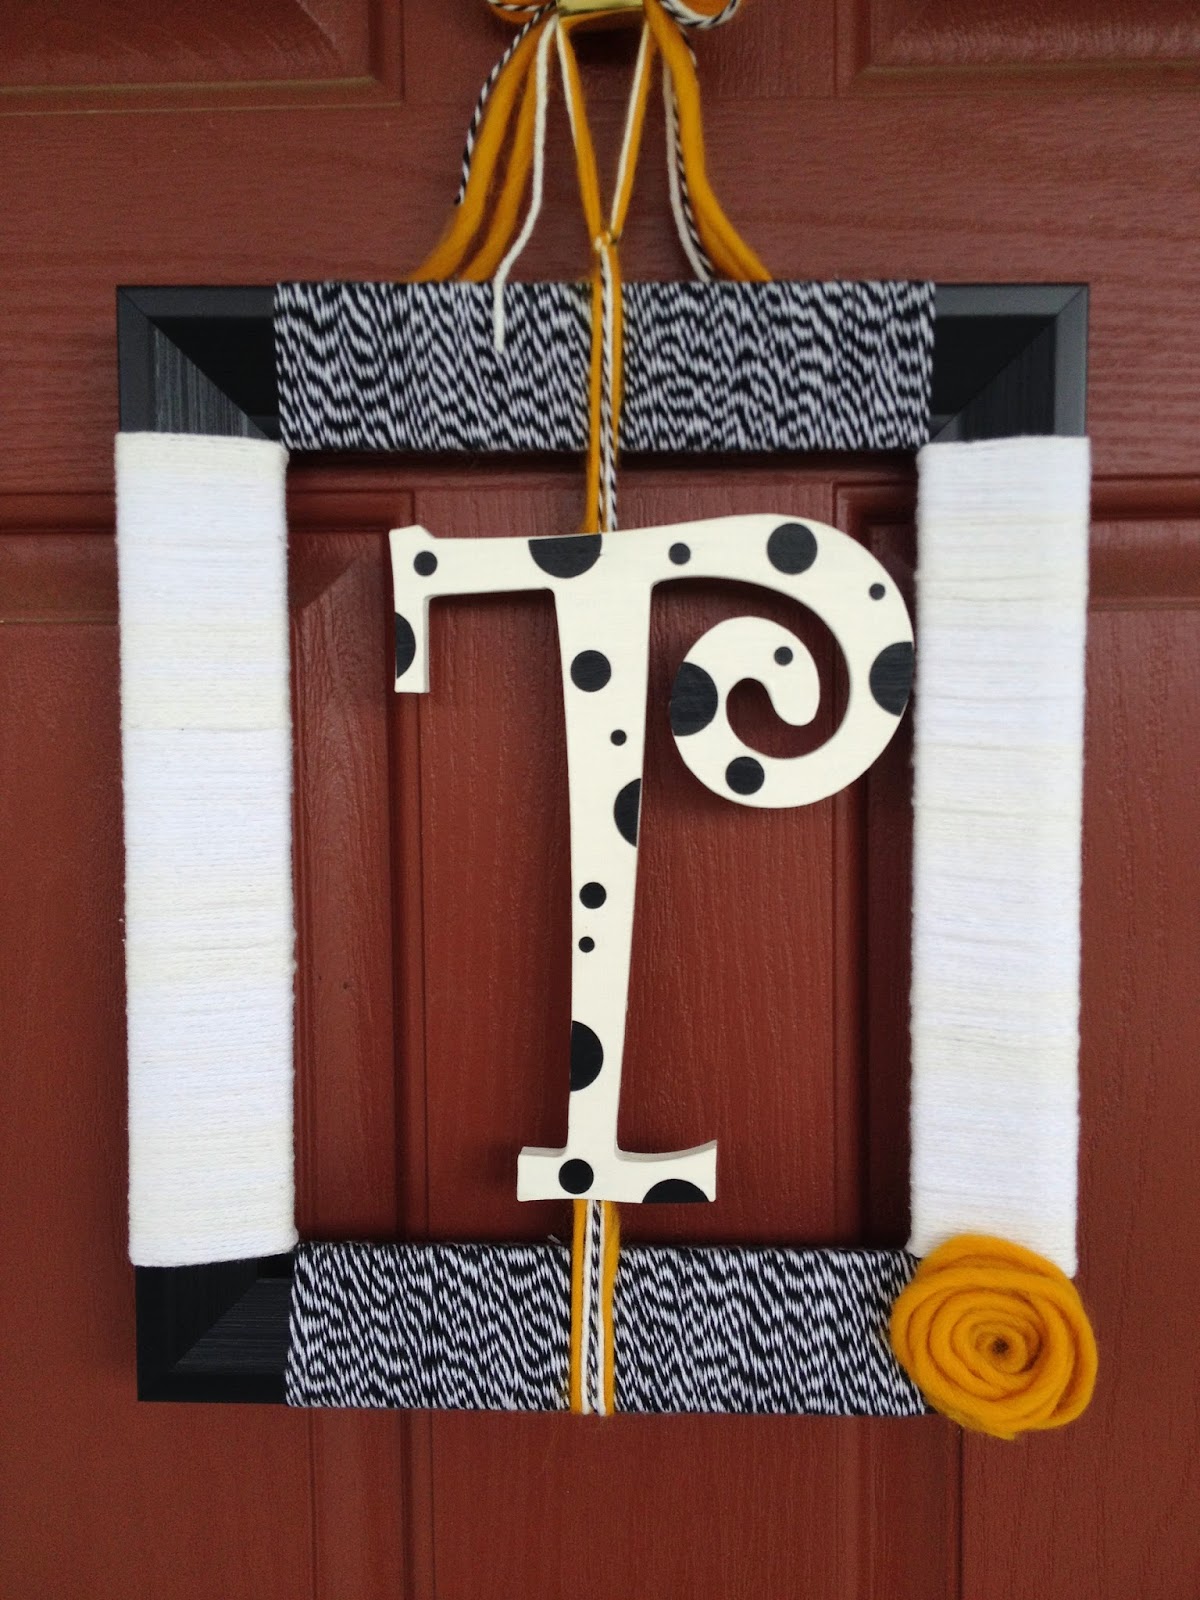
Because my letter was a T I had a bit of trouble deciding how to hang it within the frame. I opted for stapling the yarn to the back. With a C (like the example I pinned) it makes sense to just loop the yarn around the letter.
Oh and one more thing I did on mine (at my sister-in-law's suggestion for which I'll be eternally grateful) - - I cut circles from scrapbook paper and mod podged em on my T. Cuz I love polka dots! I think that's my favorite part of this little cutie pie project. Thanks Les! (insert emoji kissy face here)
Glad I ran across this little idea and I think it's just cute as can be on our front door.